Once you enter the workplace, Outlook becomes an essential tool for office workers. This article explains some configuration and general settings for Outlook (Outlook 2013).
Adding a User Account
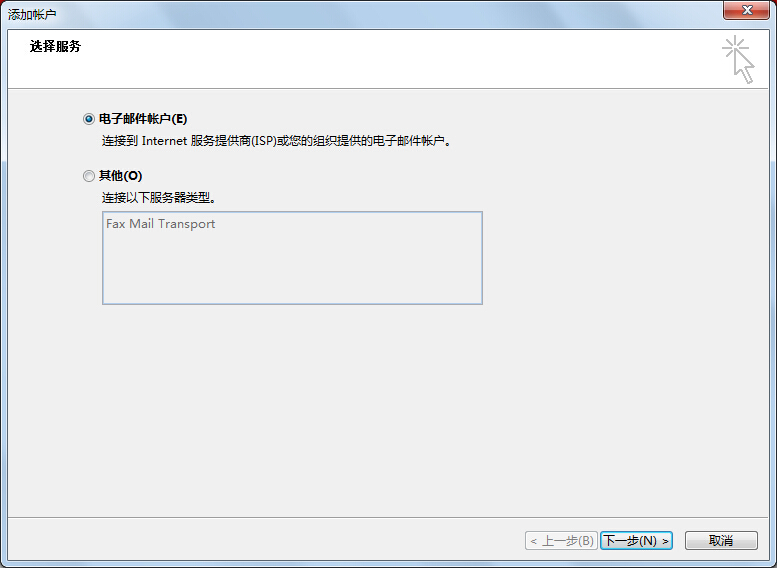
- Open Outlook 2013, click “File” in the upper left corner, and in the dropdown list, click “+ Add Account.”
- Select “Email Account” and click “Next.”
- Click “Manual setup or additional server types,” then click “Next.”
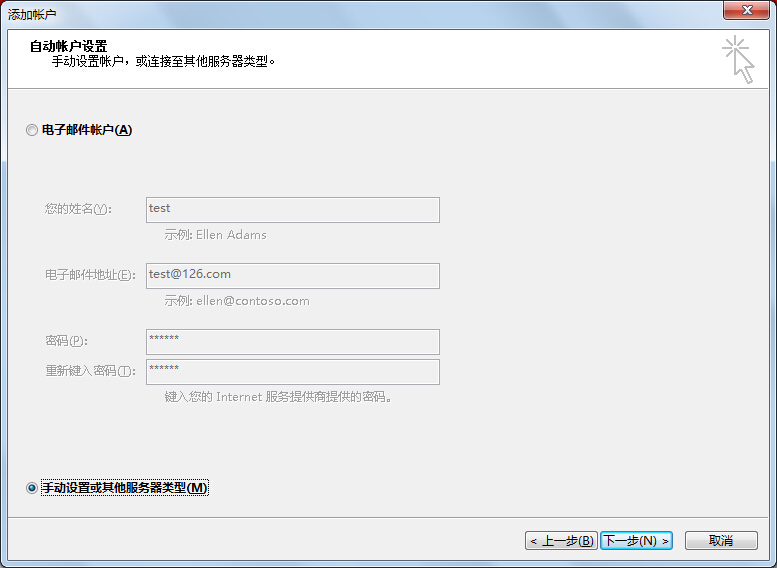
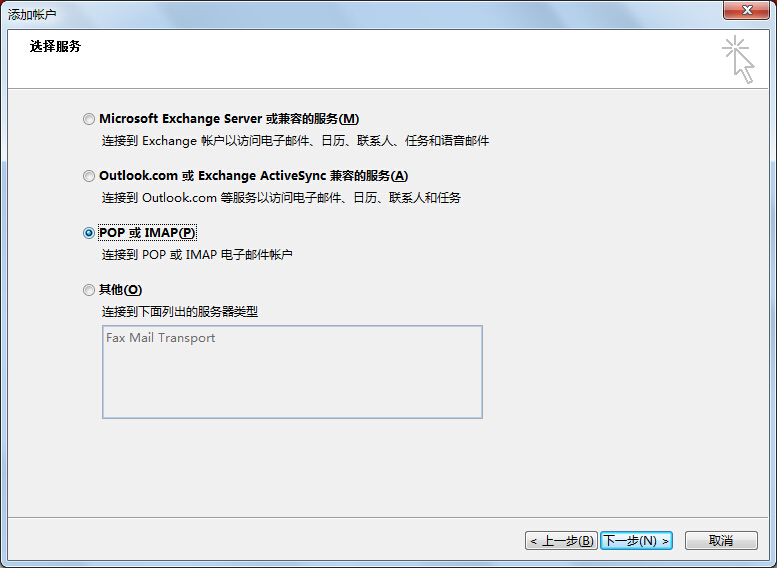
- Check “POP or IMAP,” then click “Next.” This is generally the option to choose.
- Enter your username and password, and configure the incoming and outgoing server addresses. Note that these two addresses are typically pop3 or smtp@corresponding-domain, which you need to confirm with your email service provider. The provider usually has documentation for this.
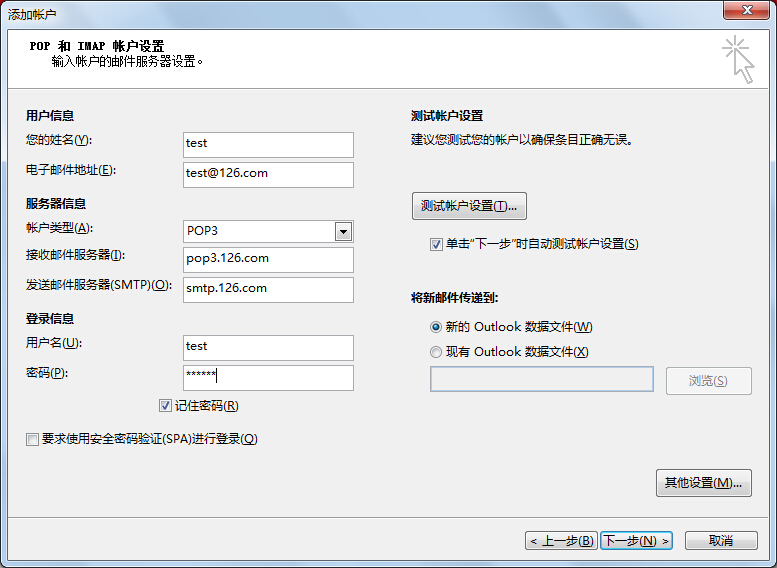
- Click “More Settings” in the image above, configure the outgoing server username and password, and click “Finish.”

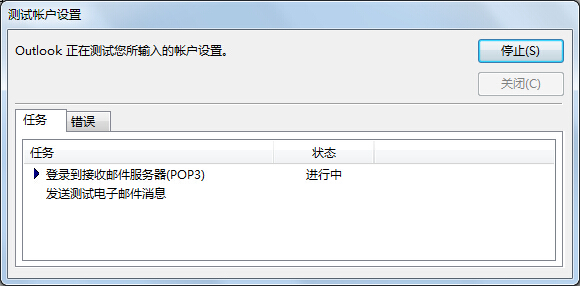
- Click Next to start the test. After the test completes, the entire process is successful.
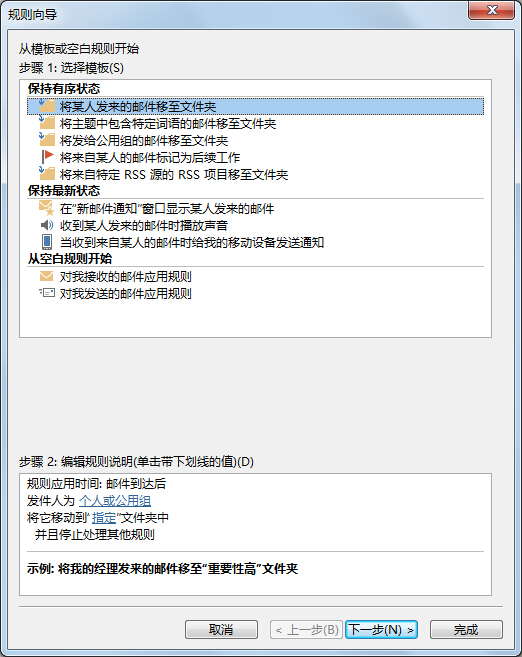
Configuring Email Filter Rules
During daily email usage, you may receive a large volume of emails. Efficiently sorting these emails is a very meaningful task.
- Open Outlook 2013, click “File” in the upper left corner, and in the dropdown list, click “Manage Rules & Alerts.”

- Click “New Rule.”
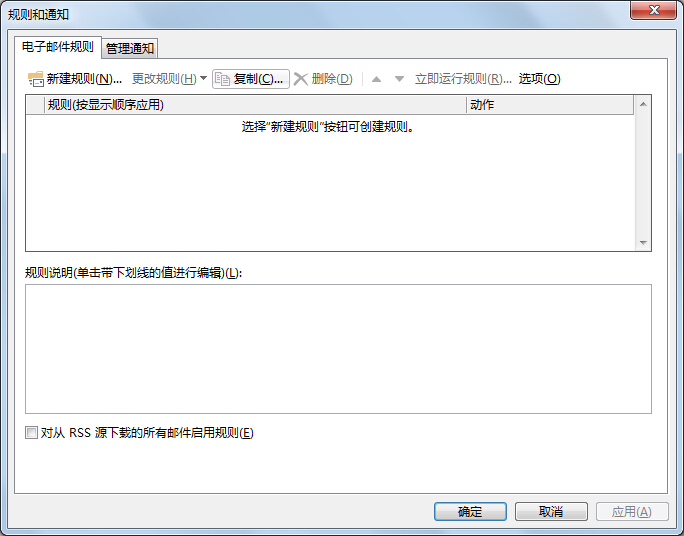
- There are many options in the rules. Configure them according to the rule wizard. For example, you can select “with specific words in the subject” or “from a specific sender,” and then move the emails to a designated folder or specify a particular action.